Covering a wall can completely transform a space without the need for a full renovation. However, to achieve a neat, long-lasting finish, there are a few decisions to make before getting started: preparing the surface properly, choosing the right material, calculating the required quantity, and planning the installation.
Check the Condition of the Wall Before Installing Cladding
Before installing any wall cladding, the surface must be properly prepared.
Moisture
A damp wall can compromise adhesion and lead to peeling or stains over time. If you notice signs of moisture, such as stains, odors, or peeling paint, you need to address the source of the problem before installing the cladding rather than covering it up.
Leveling
Walls with significant unevenness can affect the final result, especially when using rigid panels or large-format pieces. Run a level or a long straightedge across different areas of the wall to identify irregularities, and correct them with wall filler if necessary.
Cleanliness and Adhesion
The surface must be clean, dry, and free of dust, grease, or loose paint. Any residue can reduce the adhesive's bonding strength and compromise the installation, regardless of the quality of the cladding.
Fixtures and Obstacles
Mark electrical outlets, pipes, light switches, and any other obstacles before you begin. Planning how to handle each junction—including cuts, electrical boxes, and trim—helps prevent last-minute improvisation and mistakes on pieces that have already been cut.
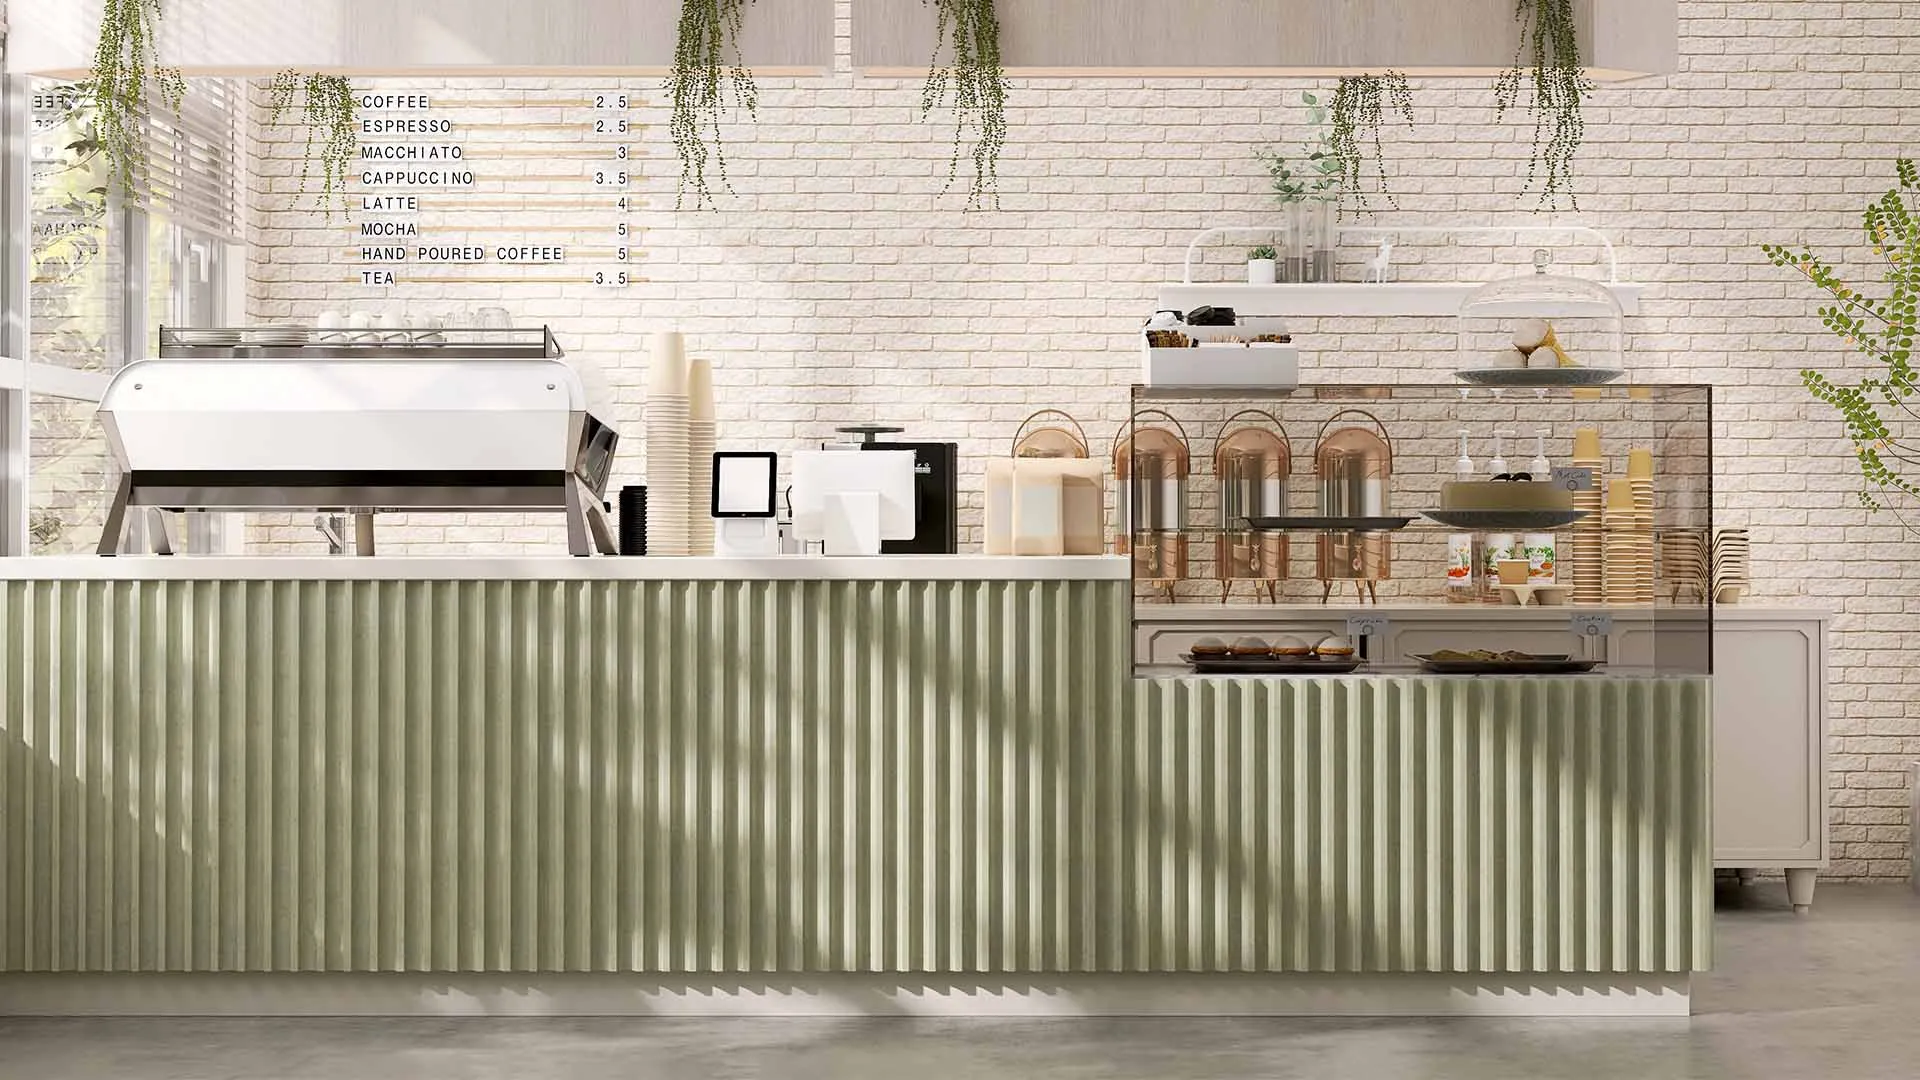
Which Material Should You Choose for Wall Cladding?
The right material for a wall depends on the style of the space, how it will be used, and the finish you want to achieve. Popular options include decorative panels, wood-look cladding, textured cladding, porcelain tiles for walls, and finishing profiles, each serving a different purpose in the project.
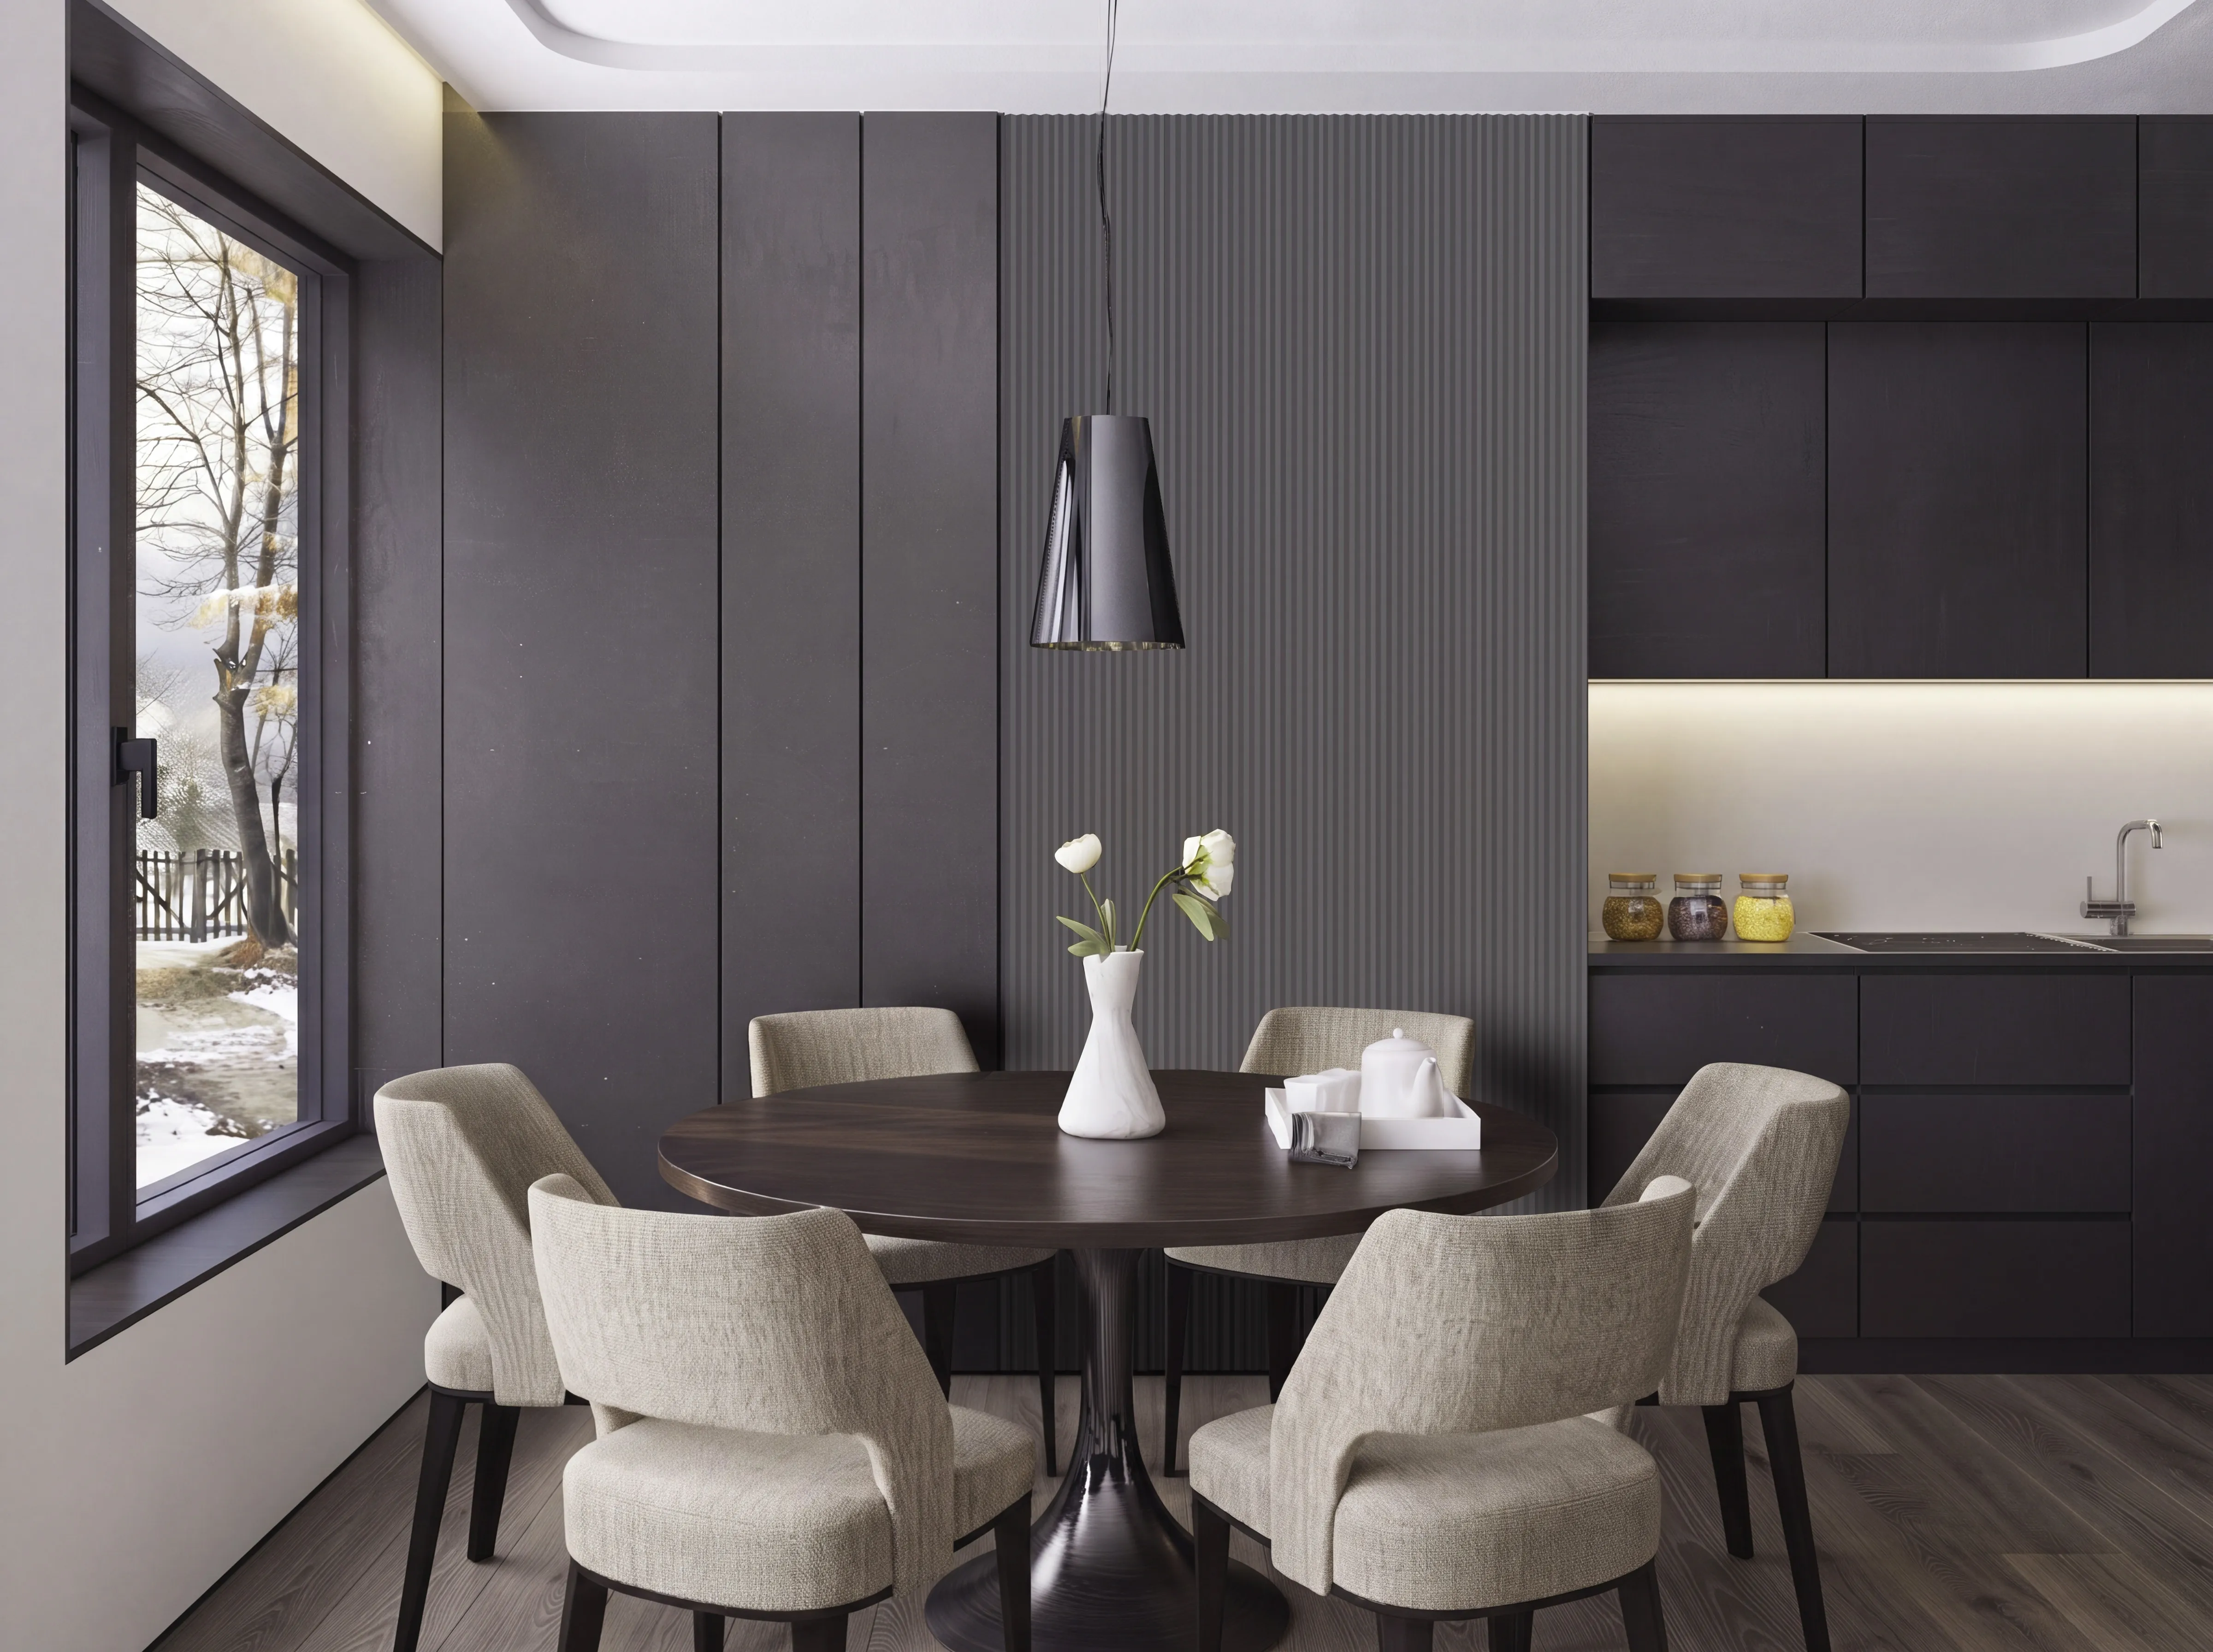
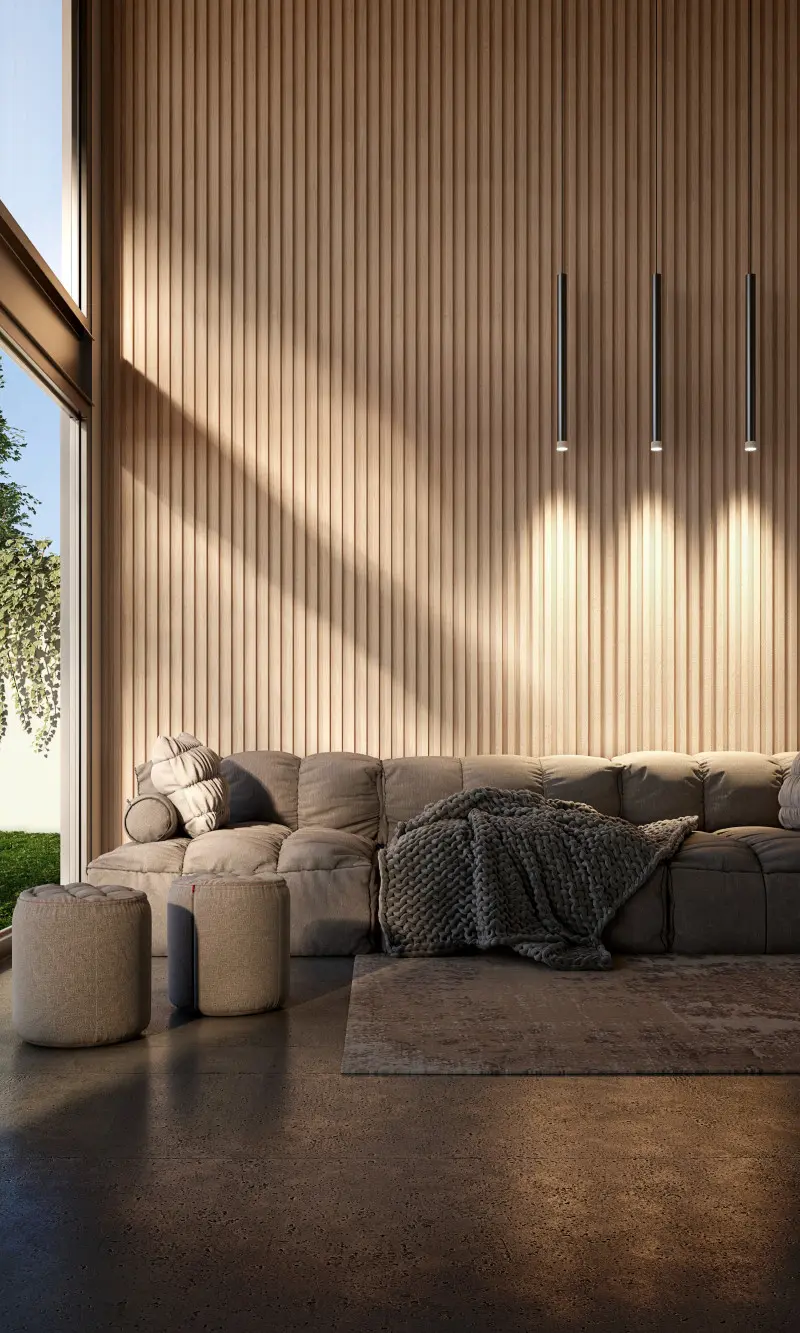
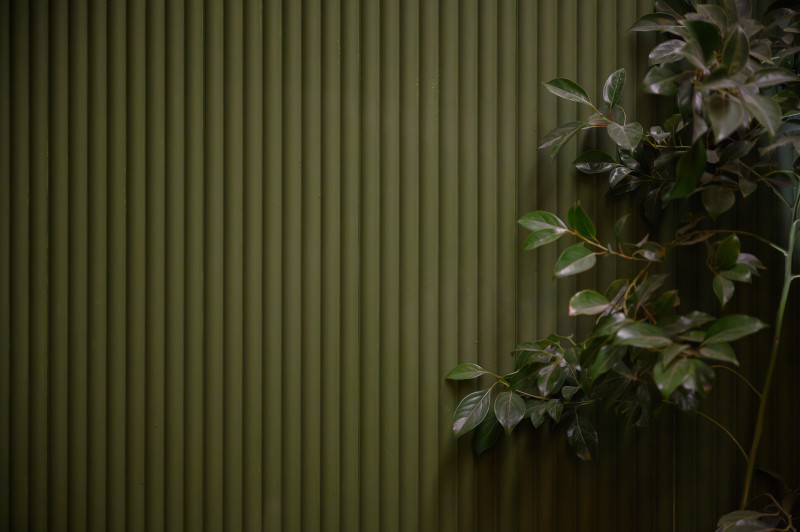
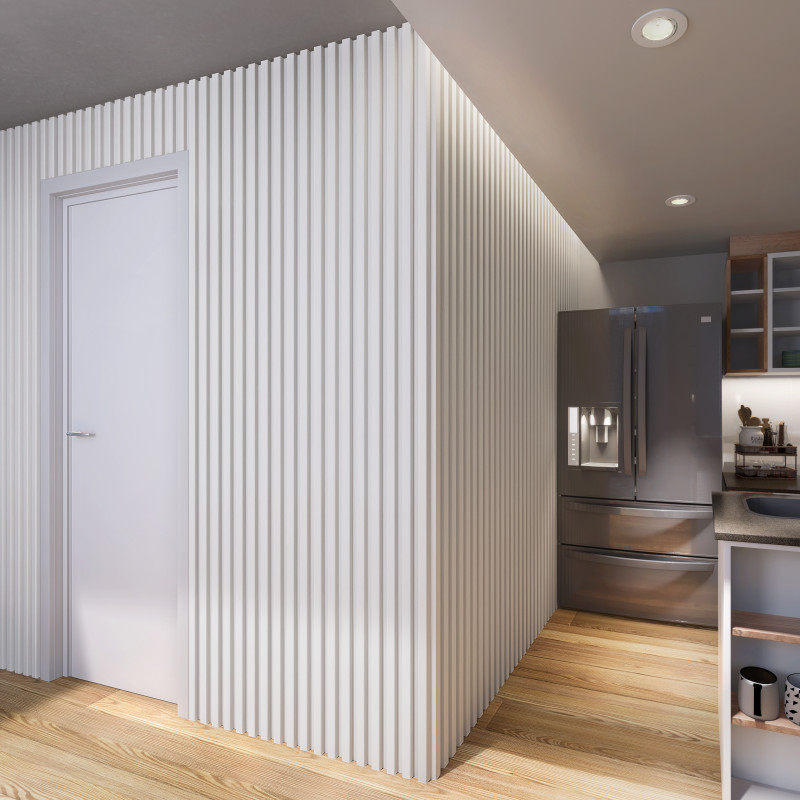
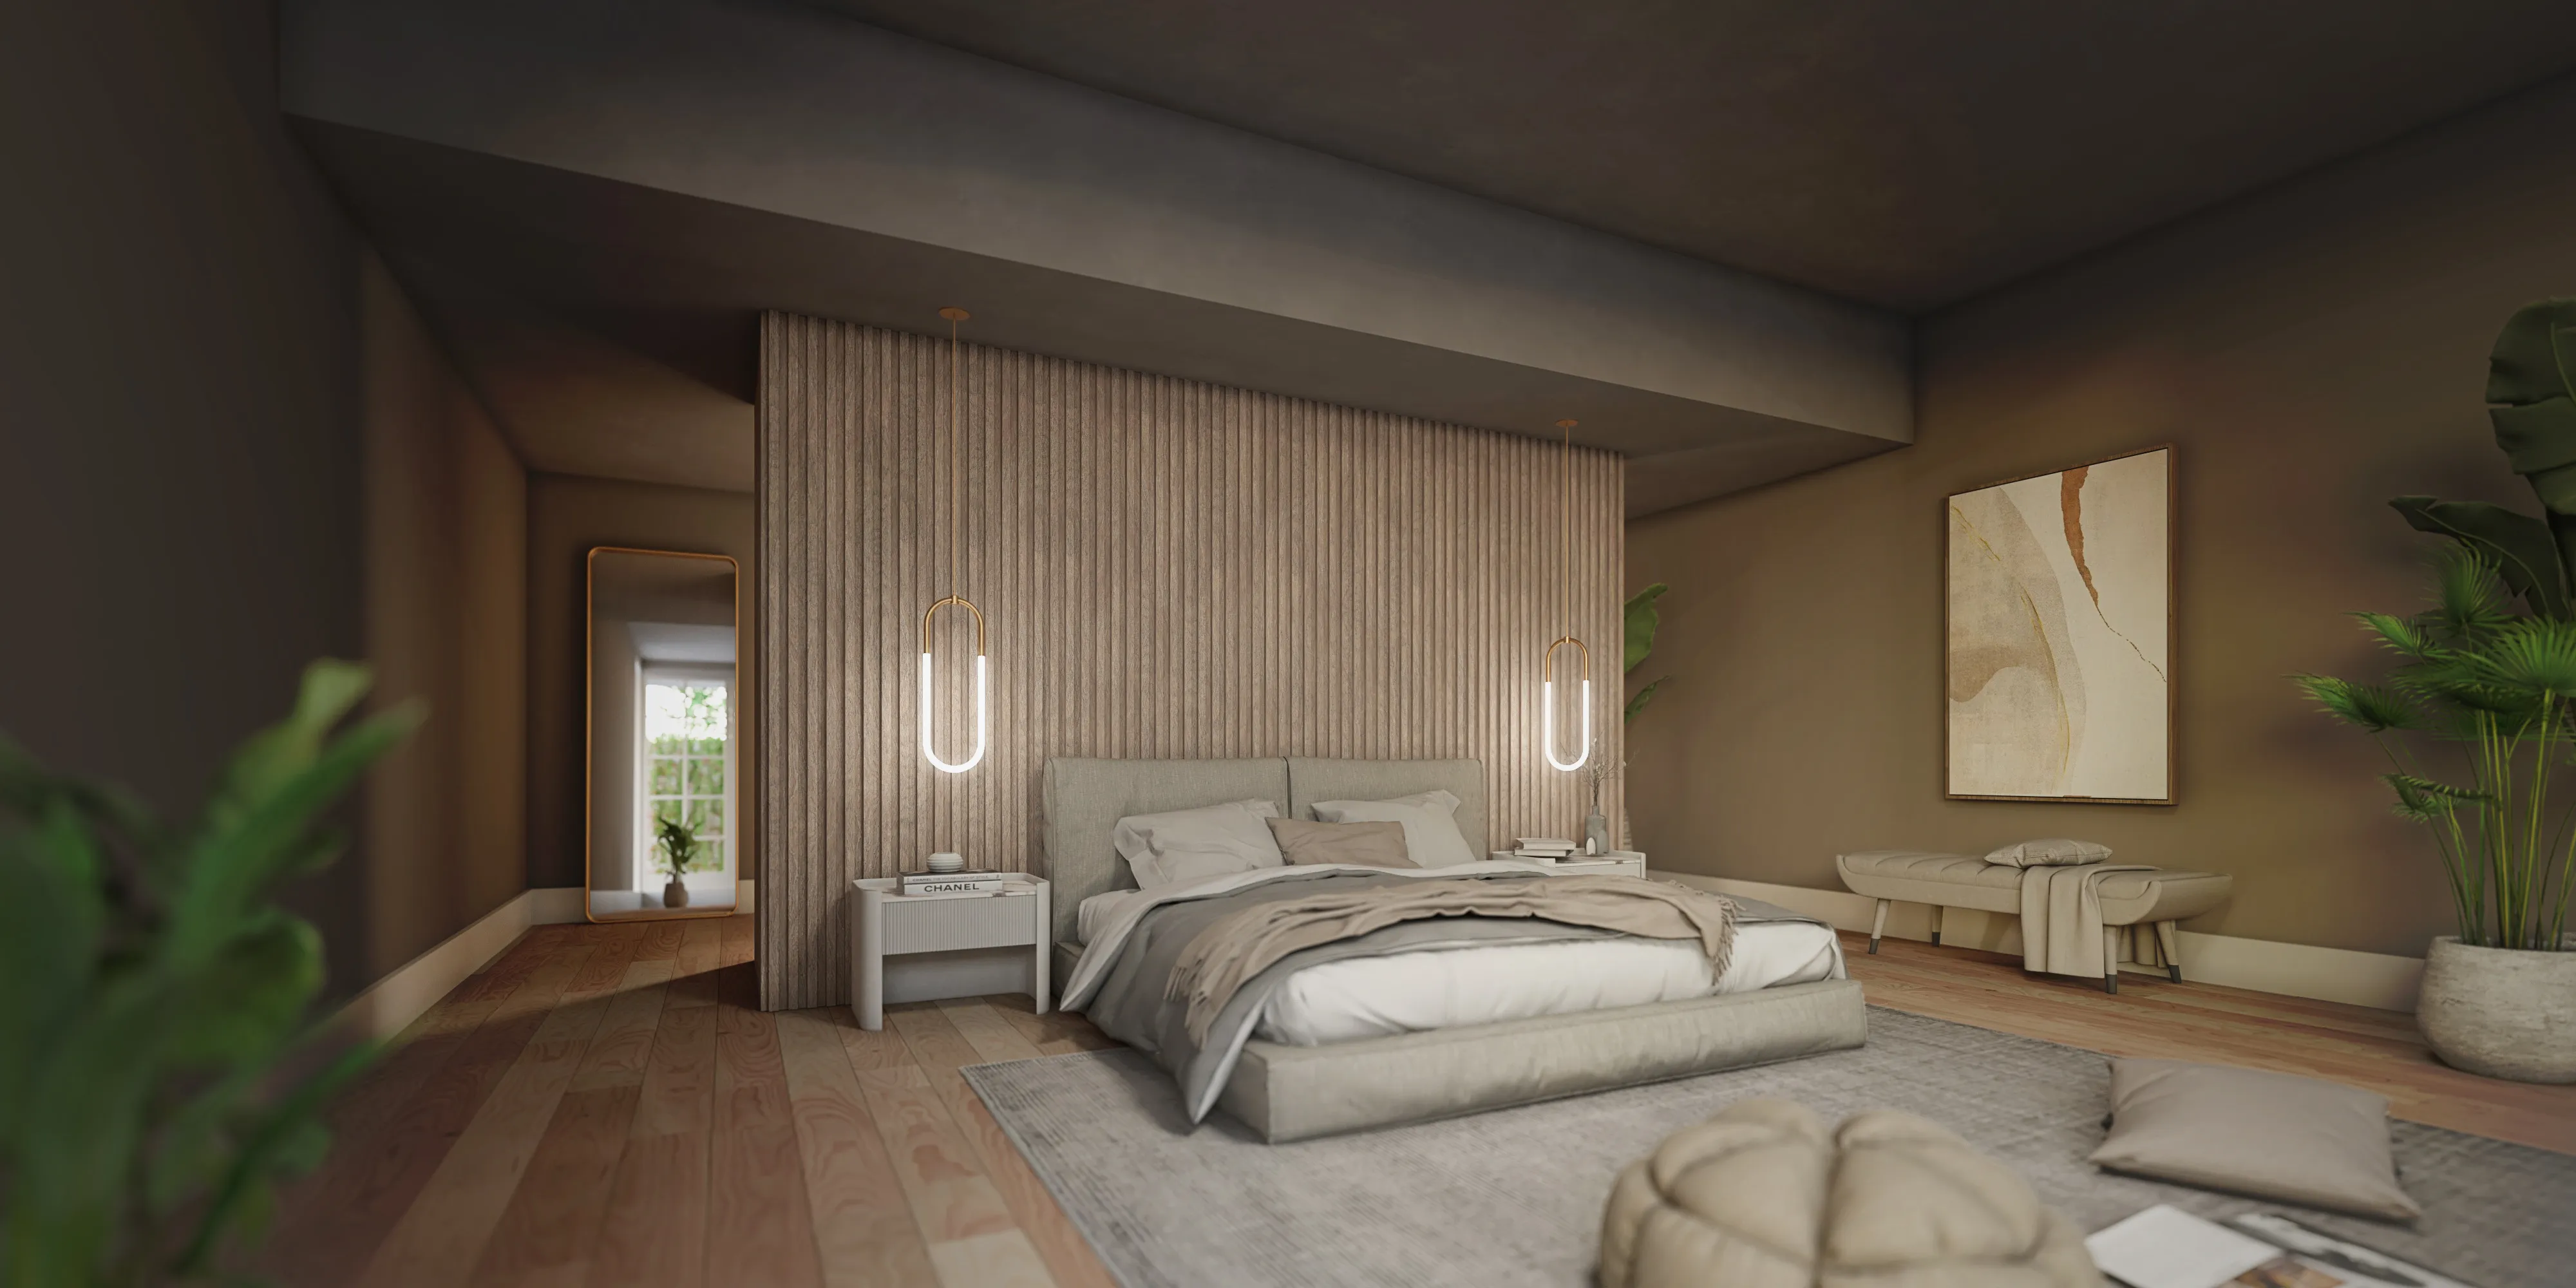
Decorative panels are a practical way to update a space without a complex renovation. Wood-look cladding adds warmth to living rooms, bedrooms, and TV walls. Textured finishes introduce depth and create plays of light and shadow, while finishing profiles provide clean edges and transitions between materials for a neater, more durable result.
Atrim's Epsilon wall cladding combines decorative design, realistic texture, water resistance, insect-resistant properties, and easy installation. It is a practical option for updating interior walls, creating decorative features, and adding dimension to residential or commercial spaces.
For projects where wall cladding meets exposed surfaces, joints, or changes in plane, aluminum profiles for wall cladding provide clean, integrated finishes along edges and at the top or sides of the installation. They are available in different sizes and finishes.
How to Calculate How Much Wall Cladding You Need
You can calculate the number of units required using the total surface area and the dimensions of each piece:
Measure the width and height of the wall and multiply them to calculate the total area in square meters.
Subtract large openings, such as windows and doors, if they will not be covered.
Add an extra 5% to 10% to account for cuts, waste, and adjustments around corners, columns, or junctions. The more irregular the wall or the more cuts the design requires, the closer you should get to 10%.
Include any starting and finishing moldings required by the selected model to achieve a neat finish.
For example, if the wall is 3 m wide and 2.5 m high, you need to cover 7.5 m². If you add 10% for cuts and waste, you should allow for approximately 8.25 m² of cladding.
If you have any questions, your local retailer can help you determine the exact quantity based on the model you choose.
How to Install Wall Cladding Step by Step
Wall cladding is designed for straightforward installation, provided the surface is clean, dry, level, and properly prepared. Follow these steps to install wall cladding.
1. Plan the Design and Installation Direction
Decide whether the cladding will run horizontally or vertically, and where you will begin on the wall. This decision affects the final visual result and the number of cuts required.
2. Mark a Reference Line
Draw a level horizontal or vertical line, depending on the installation direction, to use as a guide. All pieces will align with this reference, so check it with a level before proceeding.
3. Prepare the Cuts
Measure and cut any pieces that need to be adjusted around wall edges, corners, or fixtures. Cutting pieces to size as you progress is generally neater than cutting everything in advance.
4. Apply the Recommended Adhesive
Use an adhesive compatible with the selected material. For Epsilon wall cladding, Atrim recommends PRO-FIX adhesive or other compatible adhesives. Apply it evenly, following the manufacturer's instructions for the type of surface.
5. Install the First Piece
Position the first piece along the reference line and press it firmly against the wall. It sets the alignment for the rest of the installation, so take the time to check that it is level before continuing.
6. Continue Installing the Pieces
Install the remaining pieces, using the interlocking system to conceal the joints and create an even surface. Check the alignment as you go so you can correct any deviations early.
7. Finish Corners and Joints
Corners, edges, and side or top transitions require a specific finishing solution to achieve a clean look that integrates with the rest of the project. This is where aluminum wall-cladding profiles come in, providing a neat way to finish these joints without improvised cuts.
8. Clean the Surface and Allow It to Set
Remove excess adhesive before it dries, then clean the surface with a damp cloth and neutral cleaning products. Avoid bleach, acids, solvents, or acetone. Allow the installation to dry for the time specified by the manufacturer before cleaning the surface or putting it into use.
Common Mistakes When Installing Wall Cladding
These are some of the most common mistakes that can mean having to redo the job. Almost all of them can be avoided by following the steps above.
The first mistake is installing cladding on a damp wall. Adhesive does not bond properly to a surface affected by moisture, so the cladding may peel away or develop stains over time. That is why it is important to address the source of the moisture before installation.
Another common mistake is failing to level the surface. Installing cladding directly onto an uneven wall can make the irregularities visible in the finished result, especially when using rigid pieces. Check the level before starting and correct the surface with wall filler if needed.
Starting without planning the design can also cause problems during installation. If you do not decide in advance whether the cladding will run horizontally or vertically, and where installation will begin, the result may include uneven cuts and a visually inconsistent finish.
Failing to plan for cuts and junctions forces you to improvise as you go and can leave untidy finishes. It is important to account for corners, moldings, electrical outlets, and transitions to other surfaces.
Finally, using an incompatible adhesive can also cause problems. Not all adhesives are suitable for every material. Using the wrong one can compromise adhesion and cause the cladding to come loose over time.
Frequently Asked Questions About Wall Cladding
Can I Install Wall Cladding Over an Existing Wall?
Yes, provided the surface is solid, level, clean, and free of moisture. If the existing wall covering is in poor condition, it is best to remove it before installing the new one.
What Surfaces Can Wall Cladding Be Installed On?
It can be installed on masonry, plaster, plasterboard, and other solid surfaces, provided they are properly prepared. The key factor is not so much the base material itself, but whether the surface is level, clean, and free of moisture.
How Long Does It Take to Install Wall Cladding?
It depends on the size of the wall and the number of cuts required by the design. Walls with many corners, junctions, or fixtures to work around take longer because they require more custom cuts.
What Tools Do I Need to Install Wall Cladding?
The basic tools include a level, tape measure, cutting tool (a utility knife or saw, depending on the material), a notched trowel or adhesive applicator gun, and a damp cloth for final cleaning. Depending on the model, you may also need specific accessories for the interlocking system.
What Maintenance Does Wall Cladding Need After Installation?
In general, cleaning with a damp cloth and neutral cleaning products is sufficient. Avoid bleach, acids, solvents, or acetone, as these can damage the finish. Other than that, wall cladding does not require regular maintenance.
How Long Should I Wait Before Using the Wall After Installing Cladding?
This depends on the adhesive used. In general, allow the cladding to set for the period specified by the manufacturer before subjecting it to intensive use or deep cleaning.
If you have questions about installing wall cladding, Atrim's team offers personalized technical support to help you choose the right solution.